Showing posts with label Baby. Show all posts

Monday, 5 May 2014

Baby Boy Card-in-a-Box

My favourite card fold lately has become the "card-in-a-box". I just love the fact that they pop open and then fold flat, perfect for mailing! Recently, a friend of mine asked me to make a baby boy card-in-a-box with grey chevrons and turquoise accents. I had SO much fun making this card! I chose to use one of the cutest stamp sets from Stampin Up called "Zoo Babies". Here's how it turned out:


Probably my favourite baby boy card ever!! How cute are those little animals?! I also love this colour combo. The bright turquoise against the grey looks fabulous and is so perfect for a baby boy! I added a plain white piece of cardstock (with a couple stamped animals on it) on the back of the card for a space to write a personal message:


And the best part is, the lady I made this for had a matching gift to go with it:


The fabric on this diaper carrier and blanket match perfectly with this card! Check out TC Creations to see this lady's adorable products! 

Card Ingredients:
Stamps: Zoo Babies, Little Additions
Paper: Tempting Turquoise, Basic Gray, Whisper White, "I Am Me" DSP
Ink: Tempting Turquoise, Basic Gray
Tools: Word Window punch, Modern Label punch, 1-1/4" Circle punch, Owl Builder punch (for the heart)
Accessories: Rhinestones (Michael's)

Wednesday, 29 January 2014

KCRR meets Deconstructed Sketch - A Patterned Occasions Baby Card

A 2nd post of the day, a little unusual... but I just had to participate in this week's Deconstructed Sketch challenge! I decided to combine it with our KCRR challenge (posting this a day early :)).


Elements to use this week:

Patterned Occasions Stamp Set
Pistachio Pudding
Ruffled Stretch Trim

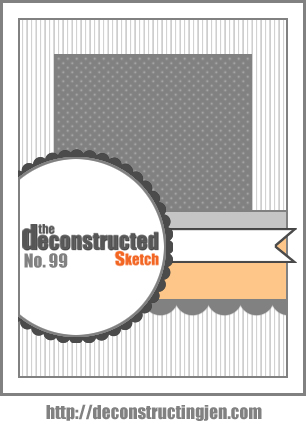
Combine it with this fabulous sketch:


And this is the end result:


When we randomly chose Patterned Occasions as one of the elements, I tend to lean to... a baby card! The little elephant in this stamp set is so cute! I wanted to make use of the other stamps, however when Pistachio Pudding is one of the colour elements, it just seemed like the perfect pastel colour for a baby card. And so I went with it... I chose Smokey Slate for the card base and added in Crisp Cantaloupe and Calypso Coral. I finally got to make use of the new In-Colour Boutique Details!


And finish it off with a matching envelope...


Card Ingredients:
Stamps: Patterned Occasions, Teeny Tiny Wishes
Paper: 2013-2015 In-Colour DSP paper stack, Smokey Slate, Calypso Coral, Crisp Cantaloupe, Whisper White
Ink: Smokey Slate, Calypso Coral
Tools: 1-3/8" Circle punch, Large Scallop Circle punch, Word Window punch
Accessories: Pistachio Pudding Ruffled Stretch Trim, 2013-2015 In-Colour Boutique Details, Rhinestones (Michael's)

Thursday, 16 January 2014

KCRR31 - Zoo Baby Zebra

It has been WAY too long since Karly and I have posted a new KCRR challenge! After the busyness of craft fair season and then Christmas, it's good to get back into a routine with card challenges again!


We randomly chose the following two elements to be included in our papercraft project this week:

Elegant Bouquet Embossing Folder
Basic Gray
 

This was a nice and simple challenge to start off the new year with! To go along with the simple elements, I chose a clean and simple sketch from Sketch Saturday and decided to make a baby card. I used Basic Gray as my card base colour and then added a lighter gray - Smokey Slate - to complement it. It needed a pop of colour so I chose one of the new Stampin Up in-colours - Crisp Cantaloupe, as well as Pool Party. I pulled out my new favourite animal stamp set - Zoo Babies - and this is the end result:

 
I think this makes a very sweet baby card. The zebra is adorable and I love the pastel colour combo (my new Stampin Up Colour Coach came in handy!)


Thanks for stopping by! Make sure to hop on over to Karly's Creations to see how she used these two elements in her papercraft creation!
 
Card Ingredients:
Stamps; Zoo Babies
Paper: Basic Gray, Smokey Slate, Whisper White, Pool Party, 2014-2015 In-Colour DSP
Ink: Basic Gray
Tools: 1-1/4" Circle punch, 1" circle punch, Elegant Bouquet embossing folder

Tuesday, 30 July 2013

So Worth the Wait x2

Monday was one crazy busy day! So glad it's over! However, I have a feeling this whole week is going to be super busy. That just means my vacation next week will feel all the more rewarding!

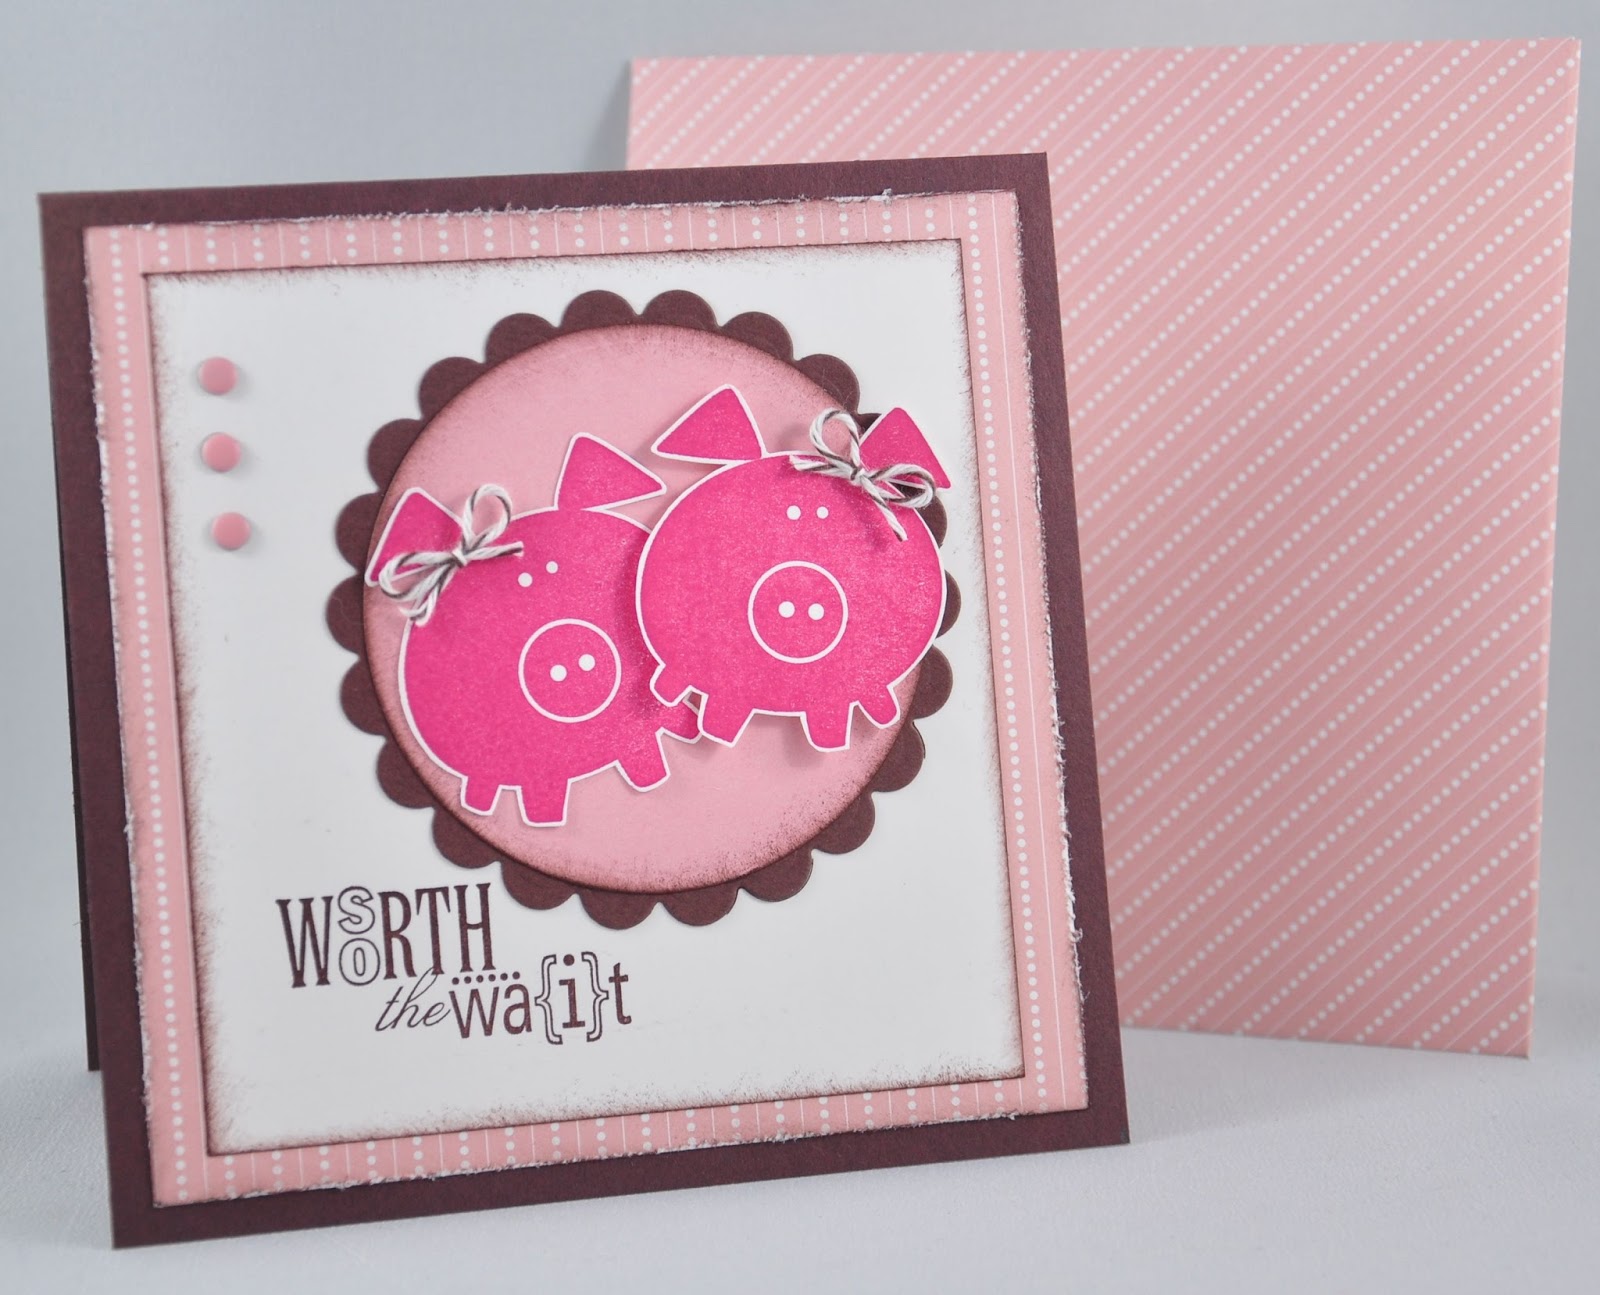
I had a request from a friend to make a 'congratulations' card for twin baby girls. It took me a bit to think of a design, and then I remembered a card I made a while ago using the cute little pig from Button Buddies and the sentiment "So Worth the Wait" from Word Play. Click here for the original post. I decided to remake this card, adding another piggy for the twin girls. I used similar designer paper and the same colour combo.


As I did in my original design, I added little bows to each piggy. And instead of buttons, I added candy dots to embellish the card. (I love that Stampin Up came out with these new candy dots! I know I will be using them a lot!)

 
I added a strip of DSP on the inside of the card for an added touch. I love the idea of decorating the inside of the card and I think I may do this more often, even if it is just as simple as adding a strip of DSP.


Since this is a 5" x 5" greeting card, I needed to make an envelope for it. So, being that I love to match things, I used the same DSP that is on the card for the envelope as well.
 
This is one of my favourite baby cards!
 
Card Ingredients:
Stamps: Button Buddies, Word Play
Paper: Chocolate Chip, Whisper White, Blushing Bride, Nursery Nest DSP
Ink: Rose Red, Chocolate Chip
Tools: Circles Nestabilities, Scallop Circles nestabilities, Distress tool
Accessories: Blushing Bride candy dots, Early Espresso bakers twine

Wednesday, 17 July 2013

Mini Overalls

I had so much fun making the mini onesies, I had to continue with the 'mini' theme. I found some inspiration on another papercrafter's blog (click here) and just had to CASE it! Here's my version:


I punched out part of the owl from the Twitterpated DSP collection and the Nursery Nest DSP collection. Both DSP have soft and subtle colours - perfect for baby cards! I free hand cut the straps and added mini brads as buttons. Cut a small slit in the bottom for the pant legs and you have adorable mini overalls!


I created the same background as my card with the mini onesies using the Clouds embossing folder and grey striped bakers twine is used for the 'clothes line'.

 
Thanks for dropping by!
 
Card Ingredients:
Stamps: Short & Sweet
Paper: Daffodil Delight, Marina Mist, Whisper White, Basic Gray, Twitterpated DSP, Nursery Nest DSP
Ink: Basic Gray
Tools: Modern Label punch, Word Window punch, Owl Builder punch, Clouds embossing folder
Accessories: Grey striped bakers twine (CTMH), mini brads (Michael's), rhinestones (Michael's)

Tuesday, 16 July 2013

Mini Onesies

It was hard to come back to work after such a great weekend! After spending some good quality time with the in-laws, I realize how much I miss having family around! I look forward to the day when we can be just a short drive away from them, rather than living across the country (as much as I love beautiful B.C.!)

One of the highlights from the weekend was floating down the Nechako River in PG. While the weather didn't quite cooperate, we still had a great time!


...yes, it's pouring rain! But, I had my hunny to warm me up :)


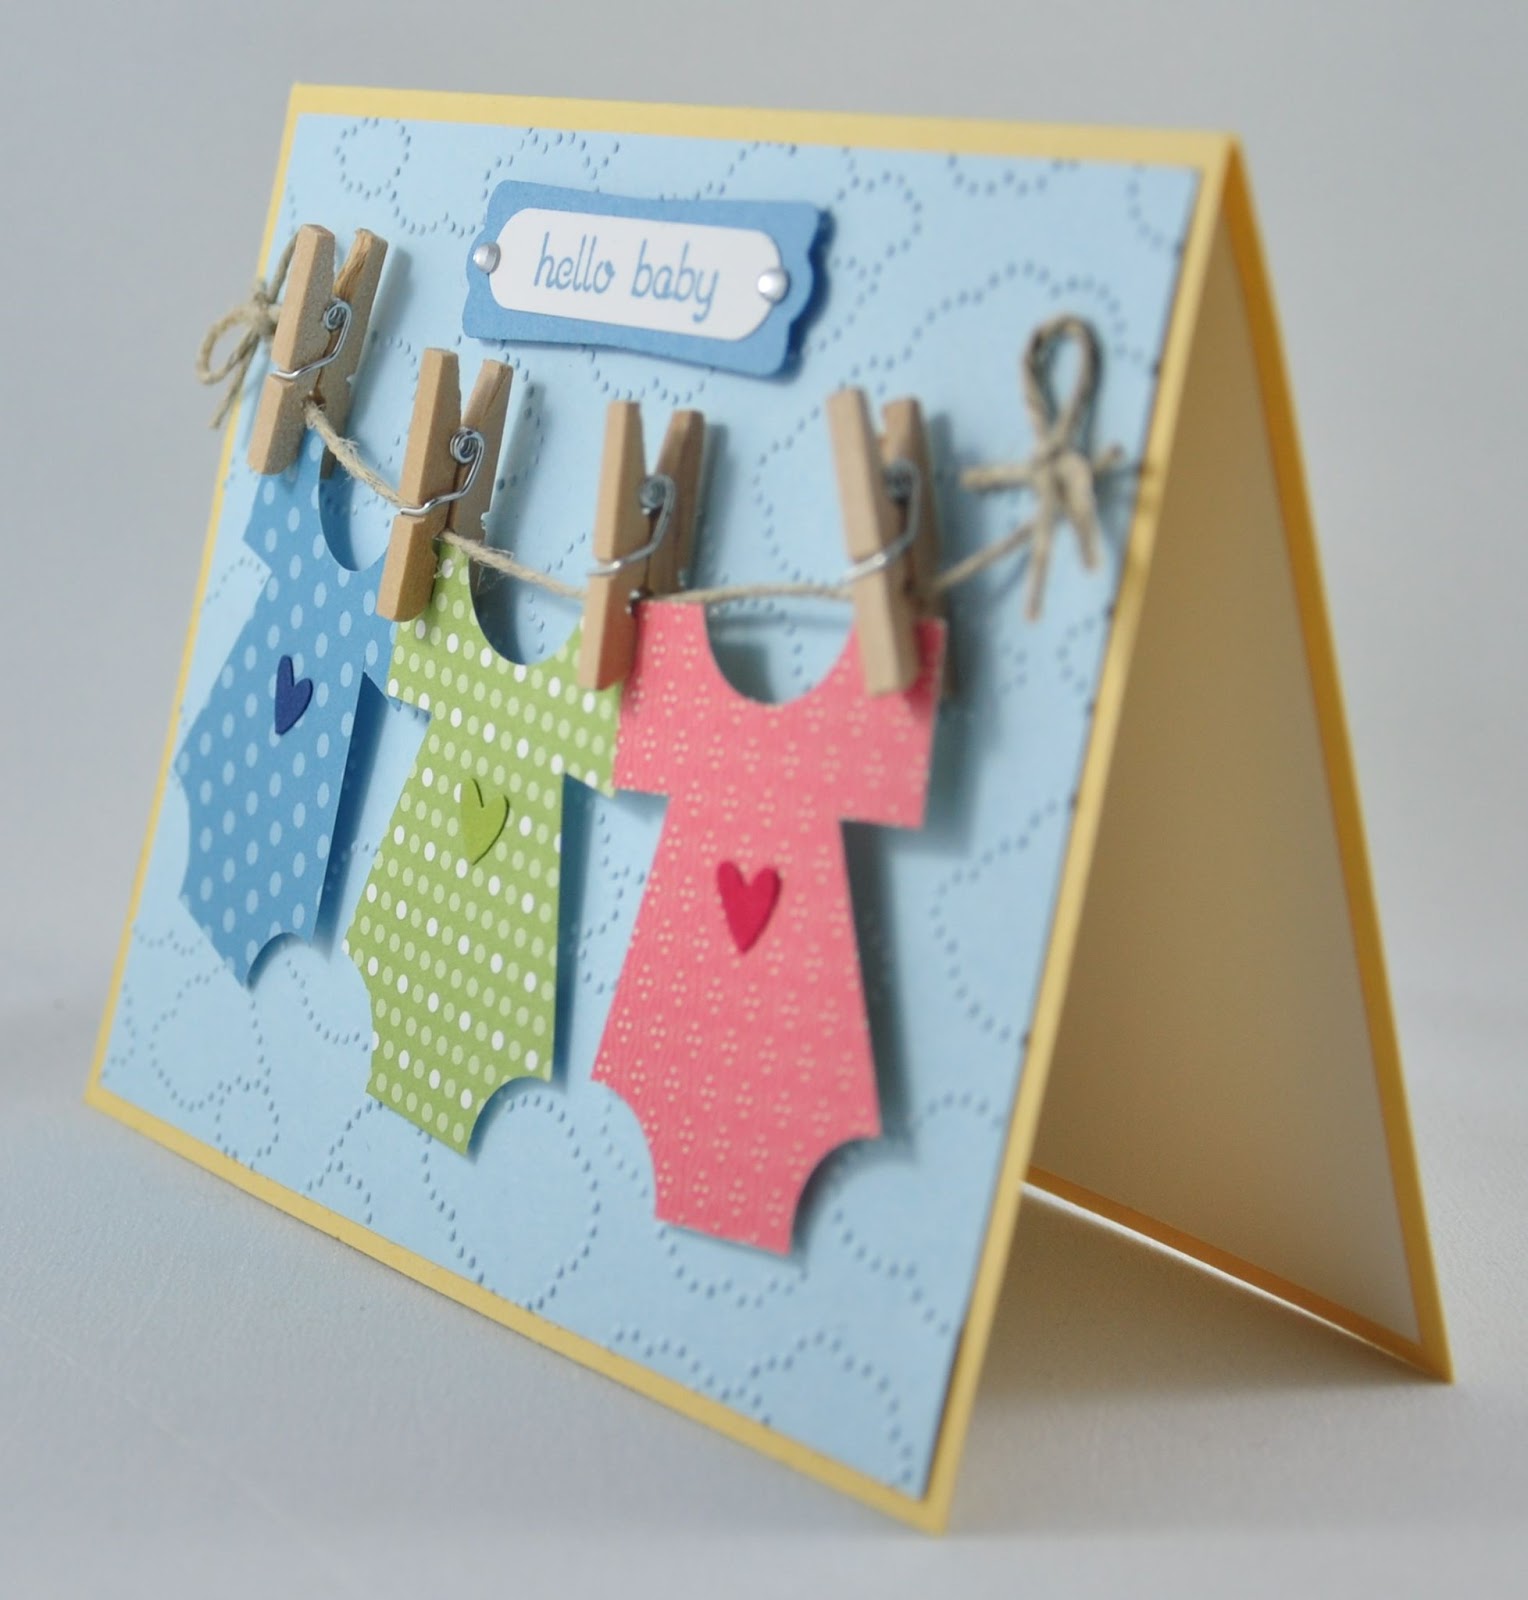
Today I'm going to share a card that has become one of my favourites! A while ago I was given mini clothespins to use on my cards and haven't quite found a use for it until now! I thought it would be so adorable to use them for hanging  little onesies from a 'clothes line'. Mini onesies are super easy to make -- click here to see the video tutorial.

I made three onesies from different patterned designer paper and just love the end result!

 
The card front is embossed with the Clouds embossing folder to make it look like sky. I used hemp twine for the 'clothes line' and hung the mini onesies from it (adding some glue dots to the clothes pins to keep them in place). I then simply added little hearts to each onesie and completed the card with a sentiment. Adorable right?


Thanks for stopping by! Hope you feel inspired to make these adorable onesies -- they can be addicting!
 
Card Ingredients:
Stamps: Teeny Tiny Wishes
Paper: So Saffron, Bashful Blue, Marina Mist, Whisper White, Subtles DSP, Nursery Nest DSP, Elementary Elegance DSP
Ink: Marina Mist
Tools: Modern Label punch, Word Window punch, 1/2" Circle punch, Owl Builder punch, Clouds embossing folder
Accessories: Hemp twine, mini clothespins, rhinestones

Saturday, 27 April 2013

A Sweet Baby Card

A couple days ago, I decided to sign-up for another home show/craft fair this weekend. It was a very last minute decision, but I'm glad I signed up! I'm looking forward to it and hope it will be a good turn out this time around. I'll give a report tomorrow :)

Usually, Saturday means a new "Inspired By..." challenge. But, this time Karly and I decided to postpone it until tomorrow as we were both busy last night. Stay tuned!

For today's post, I decided to share a baby card that I made a couple days ago using the new Deconstructed Sketch and a pastel colour combo from Color Throwdown.


I love this sketch! It has just the right amount of layers. And I love the soft pastels! This colour combo is perfect for a baby card! I did not have all the colours listed, but found similar colours in my stash of supplies - Certainly Celery, So Saffron, Blushing Bride and Blush Blossom.
 
 
I layered cardstock and designer paper, following the sketch quite closely. Striped pink grosgrain ribbon is wrapped around the card front and rhinestones are added to embellish the card. Isn't that elephant darling? It's from a Verve stamp set that I won from a Mojo Monday challenge a while ago. The adorable sentiment 'sweet little baby' completes the card.


Thanks for stopping by! Make sure to return tomorrow for our new 'Inspired By' challenge!
 
Card Ingredients:
Stamps: To the Moon (Verve), One of a Kind (ret)
Paper: Blushing Bride, Certainly Celery, So Saffron, Blush Blossom, Basic Gray, Whisper White, Subtles DSP
Ink: Basic Gray
Tools: Blender pens, Circles nestabilities, Scallop Circles nestabilities
Accessories: Pink Pirouette grosgrain ribbon (ret), Rhinestones (Michael's)


Thursday, 11 April 2013

Mini Baby Cards

Zumba was a great workout last night! I usually stick to the back row, but at times it's hard to see the instructor and can be quite challenging to keep up! This time I moved up a row and I could follow along SO much easier! It was a fun workout and I look forward to next week!

Stampin Royalty's challenge this week is entitled "Oh, Baby!!". I'm going to keep the 'mini' theme going. :) Yesterday's post featured a 3" x 3" mini album and today's post features a couple of mini 2" x 3" baby cards with matching envelopes.


Isn't this size just adorable?! I stamped a little bunny in Basic Gray and popped them up to give the card some dimension. I added bakers twine and small rhinestones to embellish them. These fit perfectly in the small scallop envelopes -- I love this die!


Thanks for stopping by! Make sure to visit tomorrow for a new KCRR challenge!

Mini Card Ingredients:
Stamps: Forest Friends (ret.)
Paper: Basic Gray, Whisper White, Subtles DSP
Ink: Basic Gray
Tools: 1-1/4" Circle Punch, 1-3/4" Circle Punch, Scallop Envelope Die
Accessories: Gray Bakers Twine (CTMH), Rhinestones (Michael's)