Using punch art, I created a little onesie, a small bib and little baby shoes. A rattle was stamped and cut out, and a banner was created, hanging from the back panel.
Thanks for stopping by!
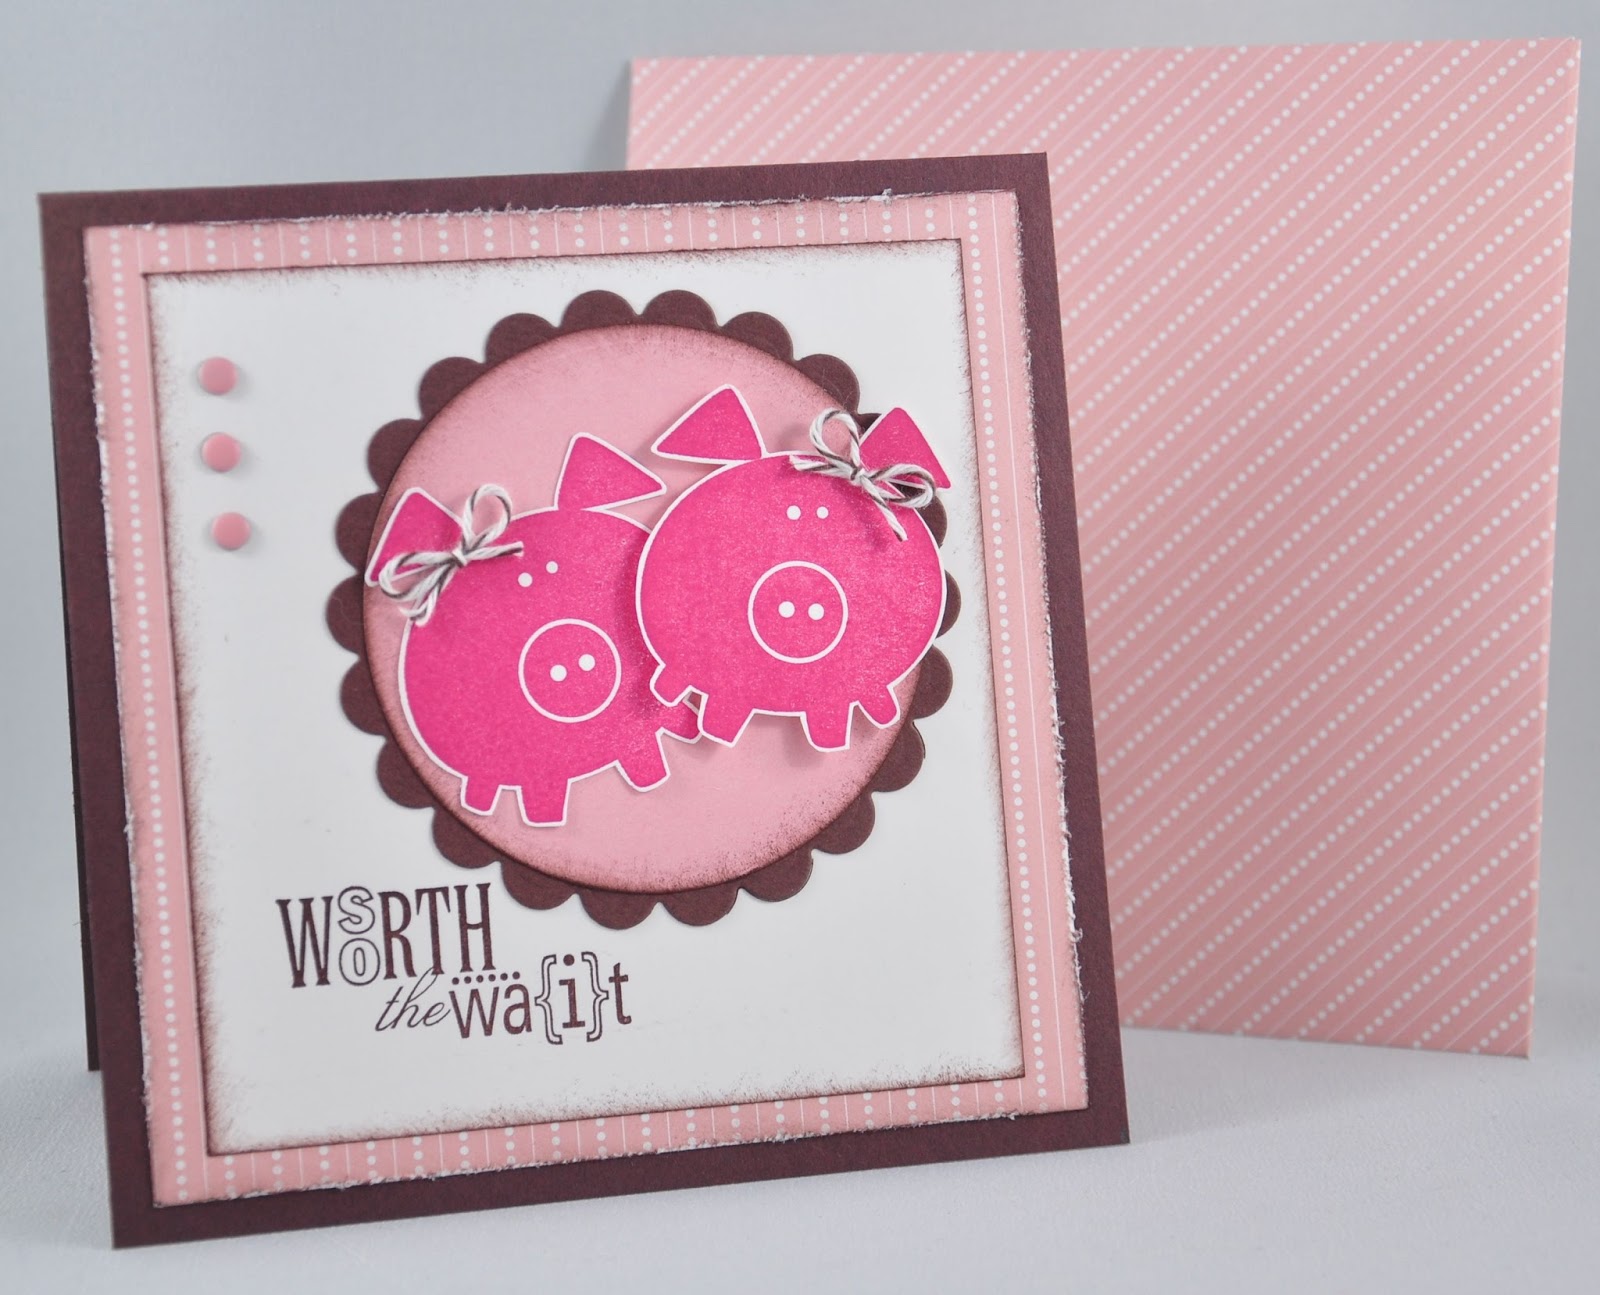
Card Ingredients:
Stamps: To the Moon (Verve), Little Additions (ret.), Rain or Shine (ret), Button Buddies (ret)
Paper: Early Espresso, Strawberry Slush, Pink Pirouette, Whisper White, Subtles DSP, Love Impressions DSP (ret)
Ink: Strawberry Slush
Tools: Petite Banner punch, 1/2" Circle punch, 1-1/4" Circle punch, 1" Circle punch, Word Window punch, Small Oval punch, Scallop Oval punch, Scallop Trim Border punch (ret), Owl Builder punch (for the hearts)
Accessories: Strawberry Slush Ruffle Stretch Trim, Early Espresso bakers twine, Rhinestones (Michael's)